🧰 Tools & Gear You’ll Need
- Wedding bouquet
- Resin (epoxy resin specifically designed for casting)
- Hardener (comes with resin kit)
- Mixing cups
- Stirring sticks
- Silicone molds (for resin) or shadow box frames
- Gloves (nitrile or latex)
- Protective eyewear
- Dust mask
- Heat gun or lighter (to remove bubbles)
- Tweezers
- Flower-drying silica gel or a flower press
- Cardboard or blotting paper (for pressing)
- Mat board and backing (for framing)
- Frame
- Adhesive (acid-free glue or spray adhesive)
- Craft knife or scissors
- Rubbing alcohol and paper towels (for cleaning)
- Optional: Dehydrator, clear sealant spray
Why Preserve Your Wedding Bouquet? The Lasting Memories
Your wedding bouquet is more than just a collection of flowers; it’s a tangible symbol of your special day, carrying with it the emotions, scents, and beauty of your vows. In 2026, preserving these blooms offers a unique way to keep those memories alive, transforming them from a fleeting beauty into a timeless keepsake. Many brides regret not preserving their bouquets, a sentiment echoed in countless online forums where the desire to hold onto that piece of their wedding day is palpable. Preserving your bouquet allows you to relive those cherished moments every time you see it, a constant, beautiful reminder of the love and commitment you celebrated. It’s about more than just aesthetics; it’s about capturing the essence of a day that marks the beginning of your forever.

Choosing Your Preservation Method: Resin vs. Framing in 2026
The two dominant methods for preserving wedding bouquets in 2026 are resin casting and framing. Both offer distinct advantages and cater to different aesthetic preferences and durability needs. Understanding the nuances of each will help you decide which is the best fit for your beloved blooms and your desired display.
Resin Preservation: Pros, Cons, and Best Practices
Resin preservation involves encasing your flowers in a clear, hard plastic-like substance.
* Pros: Offers a high level of protection, creating a durable, often waterproof piece. The 3D nature of resin allows flowers to be viewed from all angles, maintaining their shape. It can create stunning, jewel-like objects.
* Cons: Can be technically challenging, with a steep learning curve for beginners. Improper techniques can lead to bubbles, yellowing over time, or an uneven finish. The process requires meticulous flower preparation, often involving drying. Heat generated during curing can sometimes affect delicate petals.
* Best Practices: Always use a high-quality, UV-resistant epoxy resin designed for casting. Work in a well-ventilated area and wear protective gear. Follow the resin manufacturer’s instructions precisely for mixing ratios and curing times. Consider doing a small test pour first. For delicate flowers, a slower-curing, lower-heat resin might be preferable.
Framing Your Flowers: Aesthetic and Practical Considerations
Framing involves pressing your flowers flat and mounting them within a shadow box or traditional frame.
* Pros: A more traditional and often less technically demanding method. Allows for a delicate, artistic display. Can be more cost-effective than resin. Offers a wide range of frame and matting options to match your décor.
* Cons: Flowers lose their 3D shape and become flat. Pressed flowers are more susceptible to fading from light exposure and damage from humidity or pests if not properly sealed and framed. Requires careful pressing to avoid browning or damage.
* Best Practices: Use acid-free matting and backing to prevent discoloration of the flowers over time. Choose a shadow box frame that offers depth and protects the flowers from touching the glass. Ensure flowers are completely dry before framing.

Step-by-Step Guide: Preserving Wedding Bouquet Flowers in Resin
This method is for those who want a durable, three-dimensional keepsake.
Select and Prepare Your Resin Supplies
Gather your epoxy casting resin, hardener, mixing cups, stirring sticks, silicone mold, gloves, and safety glasses. Ensure your workspace is clean, level, and well-ventilated. Cover your work surface with plastic sheeting.
Prepare Your Bouquet Flowers
This is arguably the most crucial step. Gently remove any excess moisture from the flowers. You can air dry them in a cool, dark place for several days, or use silica gel to speed up the process. For best results, flowers should be completely dry to prevent rot within the resin. Some florists can professionally dry your bouquet. Trim stems as needed to fit your mold.
Mix the Resin
Carefully measure and mix the resin and hardener according to the manufacturer’s instructions. Precise ratios are critical for proper curing. Stir slowly but thoroughly for several minutes to avoid introducing excess air bubbles. Scrape the sides and bottom of the cup.
Pour the Resin (Layering Recommended)
Pour a thin base layer of resin into your silicone mold and let it cure partially. This helps anchor the flowers and prevents them from floating. Carefully place your dried flowers into the mold, arranging them as desired. Use tweezers for delicate placement. Once arranged, slowly pour the remaining mixed resin over the flowers, ensuring they are fully submerged. Use a heat gun or lighter held briefly over the surface to pop any surface bubbles. Work in thin layers if your mold is deep, allowing each layer to partially cure before adding the next to prevent overheating and ensure proper adhesion.
Cure and Demold
Allow the resin to cure completely according to the manufacturer’s instructions, which can take 24-72 hours or longer depending on the resin and ambient temperature. Avoid moving the mold during this time. Once fully cured, carefully demold your creation. You may need to trim any excess resin or use fine-grit sandpaper to smooth rough edges, followed by a polishing compound for a high gloss.

Step-by-Step Guide: Pressing and Framing Wedding Bouquet Flowers
This method offers a delicate, artistic presentation.
Choose Your Frame and Matting
Select a shadow box frame that offers sufficient depth for your pressed flowers. Choose acid-free mat board for both the background and any window mats. Consider the color and texture of the matting to complement your flowers.
Press Your Flowers
The goal is to remove moisture and flatten the flowers without crushing them. Place flowers between two sheets of absorbent paper (like blotting paper or newspaper). Put these between the covers of heavy books or use a dedicated flower press. Apply even pressure. Change the absorbent paper every few days initially, then weekly, until the flowers are completely dry and brittle – this can take 2-4 weeks. Handle pressed flowers with extreme care; they are very fragile.
Arrange and Mount Your Flowers
Once your flowers are completely dry and brittle, carefully arrange them within your chosen frame. Use tweezers for delicate placement. Once you’re satisfied with the arrangement, use small dabs of acid-free glue or a spray adhesive to secure the flowers to the backing mat or directly to the frame’s background. Work slowly and deliberately to avoid damaging the petals.
Assemble and Seal the Frame
Place the matted and mounted flowers into the shadow box frame. Secure the backing and any glass. If your frame doesn’t have a UV-protective glass, consider using it or applying a UV-protective spray to the flowers before mounting to minimize fading from light exposure.
Common Mistakes to Avoid in Flower Preservation (2026 Edition)
Even with the best intentions, several pitfalls can ruin your preserved bouquet.
Issues with Freshness and Preparation
* Using Wilted or Damaged Flowers: Flowers must be at their peak freshness, ideally preserved immediately after the wedding or professionally dried. If they’ve already started to wilt, they won’t press or cast well.
* Insufficient Drying: This is the number one killer of preserved flowers. Any moisture left will lead to mold, rot, and browning, regardless of whether you’re using resin or framing. Patience is key.
* Over-Handling: Delicate petals can easily tear or bruise during the drying, pressing, or placement stages. Use fine-tipped tweezers and a gentle touch.
Resin Application Errors
* Incorrect Mixing Ratio: Too much or too little hardener means the resin won’t cure properly, remaining sticky or brittle.
* Introducing Air Bubbles: Stirring too vigorously, pouring from too high, or not using a heat source to pop surface bubbles leads to an imperfect finish.
* Ignoring Curing Temperatures: Resin cures best within a specific temperature range. Too cold, and it won’t cure; too hot, and it can yellow or cure too quickly, potentially damaging flowers.
* Yellowing Over Time: Using non-UV resistant resin or exposing the piece to direct sunlight will inevitably cause yellowing. Always opt for UV-stable casting resin.
Framing and Mounting Pitfalls
* Using Non-Acid-Free Materials: Standard mat boards and glues can discolor flowers over time, leaving brown or yellow spots.
* Lack of Protection: Flowers pressed and framed directly against glass can attract moisture or pests. A shadow box or proper sealing is essential.
* Improper Pressing: Pressing too hard can crush delicate structures, while insufficient pressure can result in flowers that don’t lie flat. Uneven drying also leads to browning.

Expert Tips for a Flawless Wedding Bouquet Preservation in 2026
Elevate your preservation project with these advanced techniques.
Working with Delicate Blooms
For hyper-delicate flowers like baby’s breath or certain orchid varieties, consider encasing them individually in small resin pendants or using them as accents in a larger piece. When pressing, place them between layers of tissue paper within your press for an extra buffer against crushing.
Incorporating Additional Wedding Keepsakes
Don’t limit yourself to just flowers. Consider embedding small pieces of your veil, a swatch of your dress fabric, a bit of ribbon from your bouquet, or even tiny handwritten vows into your resin piece or shadow box arrangement. Ensure fabric items are thoroughly cleaned and dried, and consider treating them with a fabric sealant if necessary.
Maintaining Your Preserved Flowers
* Resin: Keep resin pieces out of direct sunlight to prevent yellowing and degradation. Clean with a soft, damp cloth; avoid harsh chemicals.
* Framed: Display framed flowers away from direct sunlight and high humidity. Dust gently with a soft brush or microfiber cloth. Ensure the frame remains sealed.
Frequently Asked Questions About Wedding Bouquet Preservation
How Long Does Resin Flower Preservation Last?
With high-quality, UV-resistant epoxy resin and proper care, resin-preserved flowers can last for decades, often 10-20 years or more, with minimal degradation. Non-UV resistant resin or prolonged sun exposure can lead to yellowing and cloudiness within a few years.
Can Any Flower Be Pressed?
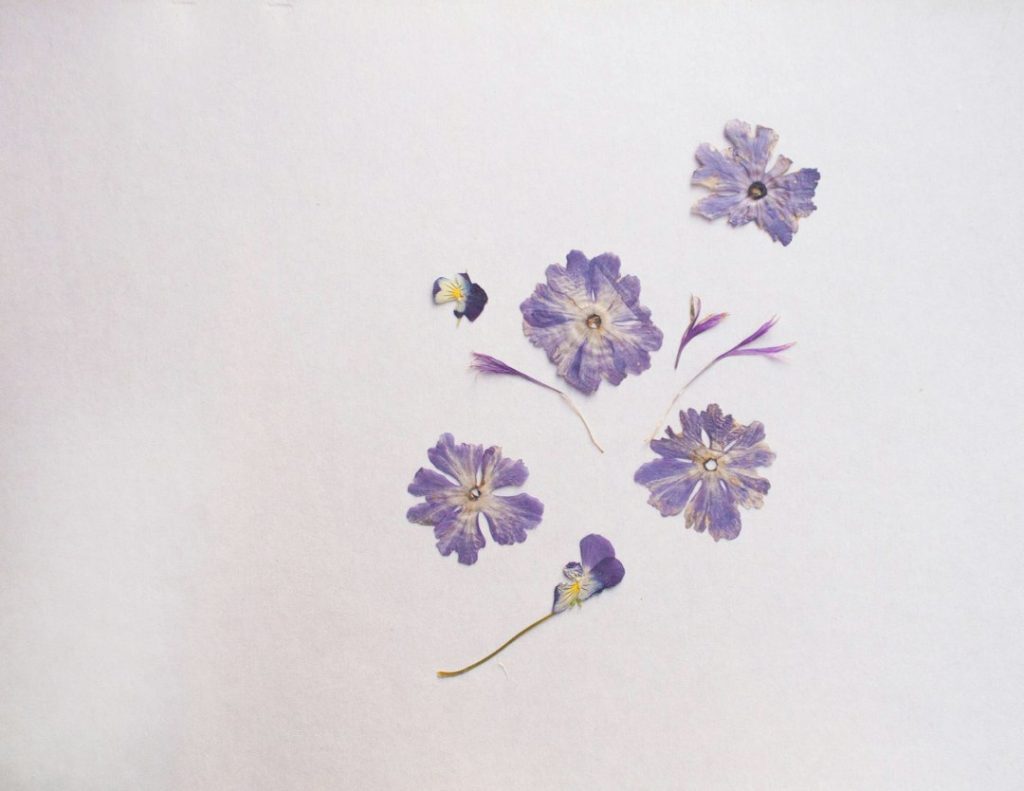
While most flowers can be pressed, some are more successful than others. Delicate, thin-petaled flowers (like pansies, violets, or cosmos) press beautifully. Thicker, fleshy flowers (like roses, tulips, or succulents) are more challenging and may require special techniques or may not retain their shape well when pressed flat. For resin, these thicker flowers can work well if properly dried.
What’s the Cost of Preserving a Wedding Bouquet?
Related Wedding Guides
Minted Foil Wedding Invitations Review: Paper & Clarity (2026)
⭐ Overall Assessment: High-quality, premium feel with excellent foil application, though pricing is at the upper…
Read Story →
Best Personalized Welcome Bags for Destination Weddings 2026
Destination weddings are an immersive experience, transforming your celebration into a multi-day event. To truly set…
Read Story →
2026’s Best Wedding Card Boxes with Secure Locks for Safe Gifts
Why a Locked Wedding Card Box is Essential for Your Big Day The confetti has settled,…
Read Story →