🧰 Tools & Gear You’ll Need
- Handheld garment steamer (preferred) OR a full-sized garment steamer
- Heat-resistant gloves
- A sturdy hanger
- A clean, flat surface (like a bed or a large table)
- Optional: A sheer fabric or mesh to place between the steamer nozzle and delicate lace
Understand Your Veil’s Delicate Nature
Before you even think about steam, get intimately familiar with your veil. Tulle, often made from nylon or polyester, is typically more forgiving but can melt under excessive heat. Lace, especially vintage or hand-made varieties, can be a different beast. It might be silk, cotton, or a blend, with intricate patterns that snag easily. Inspect the entire veil under good lighting, noting the fabric types, any embellishments (beads, pearls, sequins), and the overall construction. This initial assessment is crucial for preventing irreversible damage.
Why Steaming is the Only Way (No Ironing Allowed!)
The word “ironing” should send shivers down your spine when it comes to a wedding veil. Direct, dry heat from an iron, even on a low setting, can easily scorch, melt, or permanently flatten the delicate fibers of tulle and lace. Synthetic fibers in tulle are particularly vulnerable. Steam, on the other hand, uses moist heat to relax fabric fibers, allowing wrinkles to fall out without direct, high-temperature contact. It’s the gentle, effective way to restore your veil’s pristine condition.
Gather Your Arsenal and Prep the Space
Select your steamer: a handheld steamer is ideal for maneuverability and control, especially around intricate lace. Ensure it’s clean and filled with distilled or demineralized water to prevent mineral buildup and spotting. Have heat-resistant gloves ready – the steam is hot! Find a well-ventilated area away from direct sunlight, preferably where you can hang the veil easily. A bathroom with the shower running hot can create a steamy environment in a pinch, but direct steaming offers more control.
The Veil Inspection and Test Run (Don’t Skip This!)
Before applying steam to the main body of your veil, perform a spot test. Find an inconspicuous area – perhaps the raw edge of the hem or a less visible section of tulle. Hold the steamer nozzle at least 6-8 inches away from the fabric and apply steam for a few seconds. Let it dry completely and check for any discoloration, melting, or adverse reactions. This small step can save your veil from disaster.

Steaming Tulle: The Gentle Sweep
Hang your veil securely on a padded hanger. Keep the steamer nozzle moving constantly, never lingering on one spot. Hold it about 6-8 inches away from the tulle. Work in sections, moving the steamer downwards. The gentle, moist heat will cause the wrinkles to relax and fall out. If you notice the tulle puckering or looking strained, you’re too close or the fabric is getting too wet. Pull back slightly and keep the motion fluid.
Tackling Lace: Precision is Key
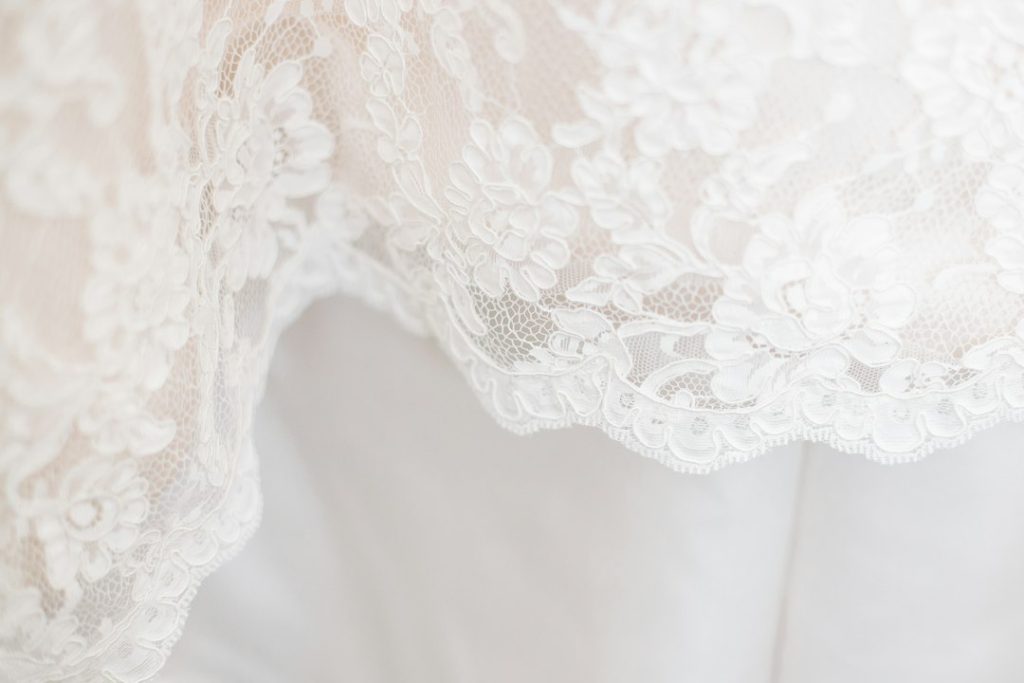
Lace requires extra care. For intricate patterns, you might want to hold a piece of mesh fabric between the steamer nozzle and the lace to diffuse the steam further and prevent direct blasts that could snag delicate threads. Alternatively, keep an even greater distance (8-10 inches) and use very short, sweeping motions. Focus on steaming the fabric *around* the lace pattern as much as the lace itself. If the lace has raised embroidery or applique, be especially cautious. Gentle hovering with steam is usually sufficient.
Handling Embellishments: Beads, Pearls, and Sequins
Embellishments can be tricky. Most beads and sequins are heat-resistant, but the glue attaching them might not be. Keep the steamer moving and avoid directing intense steam directly at glued-on elements for prolonged periods. For pearls, especially if they are faux pearls, excessive heat and moisture can sometimes affect their finish or the adhesive. A light, sweeping pass is usually safe, but err on the side of caution. If unsure, steam *around* the embellished areas.
Final Inspection and Shaping
Once steamed, let the veil hang and air dry completely. Do not touch or handle it excessively while damp, as this can create new wrinkles. Once dry, inspect it carefully under good light. Gently shape the veil with your hands, letting the remaining warmth from the steaming process help set the fabric. Ensure all wrinkles are gone and the drape is perfect.

Common Mistakes to Sidestep
The biggest pitfalls include getting too close with the steamer, which can melt synthetic tulle or damage lace threads. Water spotting is another major concern; always use distilled water and ensure your steamer isn’t old or improperly maintained. Over-steaming can saturate the fabric, leading to a limp, heavy veil or potential mildew if not dried properly. Remember, the goal is to relax wrinkles, not to drench the fabric.
When Steaming Isn’t Enough: Alternatives
If your veil is heavily wrinkled, made of a particularly sensitive material, or you’re simply too nervous to steam it yourself, professional cleaning and pressing services specializing in bridal wear are your best bet. They have the expertise and equipment to handle delicate fabrics safely. In a dire emergency, hanging the veil in a steamy bathroom (from the condensation of a hot shower) can help, but the results are often uneven and less effective than direct steaming. Ensure the veil doesn’t touch any wet surfaces.

Storing Your Steamed Masterpiece
Once perfectly steamed and dry, store your veil properly. Avoid plastic bags, which can trap moisture and cause yellowing or mildew. Use a breathable garment bag, preferably one made of cotton or acid-free material. Hang it on a padded hanger, ensuring it has space and won’t be crushed by other items. Store it in a cool, dark, dry place, like a closet, away from direct sunlight and potential pests.
The Last-Minute Polish
On the wedding day, give your veil a final once-over. Sometimes, the jostling of transport can reintroduce minor creases. A quick, 30-second blast from your handheld steamer (or a quick hang in the bridal suite bathroom) can smooth out any last-minute imperfections before you walk down the aisle. Ensure it’s completely dry before putting it on.